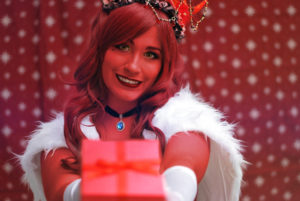
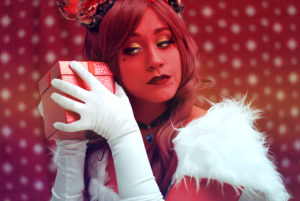
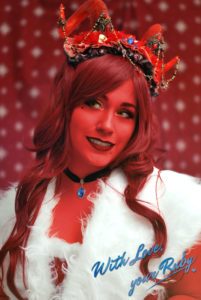
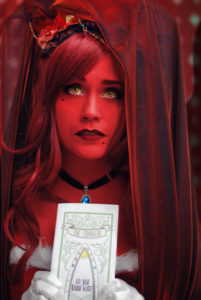
In the last article, I showed you how I managed to create a last-minute outfit for Christmas for the Ruby of the Sea. In this artice, I’ll show you the behind-the-scene of how I managed to make a selfportrait photoshoot at the very last-minute of that one dress.
A bit of context: this is Christmas eve as I just finished the last seam of my Santa dress for the Ruby of the Sea, a red tiefling non-playable character from the Dungeons and Dragons podcast, Critical Role. We celebrate, I clean up the dishes, and ready myself for the traditional Christmas meal for the day after, and prepare what will be the photoshoot « studio » for the afternoon.
I – The Photoshoot
Of course, nothing goes according to plan. On the 25th, the meal lasts longer than planned, some member of the family needs me to come over to their house because they didn’t manage to build up a furniture they just bought… as a result, I’m home at my place around 6pm. I have about 6 hours for the make up, the shooting, the picture editing… (and eating too of course).
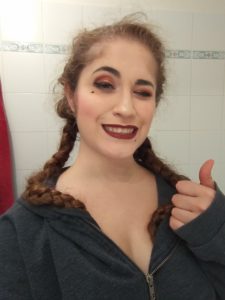
First, I’m glad that I chose to make this photoshoot a selfportrait one. I wouldn’t have been able to find a photographer available in such a short notice, on the day of Christmas. Second: I don’t have the time to make a full bodypainting make up. Indeed, the Ruby of the Sea is a character from a Dungeons and Dragons games, a red half-demon, which means her skin is totally red. But I’m not taken aback and believe in my skills as a photoshop wizard and jump to my bathroom to begin a very simple make up.
II – The Make Up
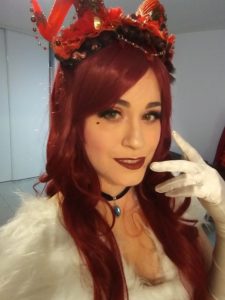
For the Ruby of the Sea, especially in a Santa dress attire, I was aiming for a Dita Von Teese look. Pinup, classy, sexy, and not vulgar; the guidelines I gave myself when I drew the design of the dress. I went with a very simple make in red and gold, with a thick line of black eye liner, two « mouches » as we like to say in french, and glitter. I used Urban Decay’s palette HEAT, Make up forever eyeliner, Make up forever false eyelashes, and Lime crime Wicked liquid lipstick.
III – The set-up
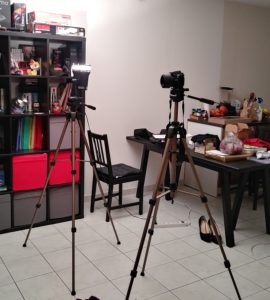
Once ready with the make-up, wig, and costume, I very quick install the studio… Well. What we can call a studio. I was running late and had no tripods to hang up a studio background, so I took a Christmasy fabric with white stars and managed to hang it between two doors. The result is… Quite fun. But it worked!
As for now I only have one single steady light of 1000watts. Since my appartment is quite small and all white, all I had to do to get one nice lighting was to aim the light at the ceiling, reflecting the light in a very soft way. I then used my camera with a remote to take the pictures. I used my Nikon D60 + my 50mm 1.8f lense for the portraits and 35mm for a wider angle. Don’t look at the mess!
IV – Editing
Once the pictures were taken, which took about 2 hours, i quickly choose the first picture to edit and made the following changes : turned the skin red, quick beauty retouching, adjusting the colors and GO. That’s how I managed to put the first picture of the set online at about 10pm GMT+1 on the 25th of December. Now I promised myself that I would never pull out another last minute photoshoot like this one… We’ll see if I can keep my word 😉
Which other costume would you like to have a behind-the-scene article of? What would you like to read more in details? Pattern-making? Details in retouching? Leave a comment for any suggestions!
