Hello guys! Since i wrote a thread on both Twitter and Instagram on how I make my own corsets, I thought I might as well share it too with a little more information. Get ready, this is how I make my own corset, in pictures, step by step. Considerate this as a quick corset tutorial!
This is not a complete tutorial to learn how to make patterns, but I will probably make a few ones in the future if you’re interested.
Introduction to corsetmaking by a quick step by step tutorial in images. 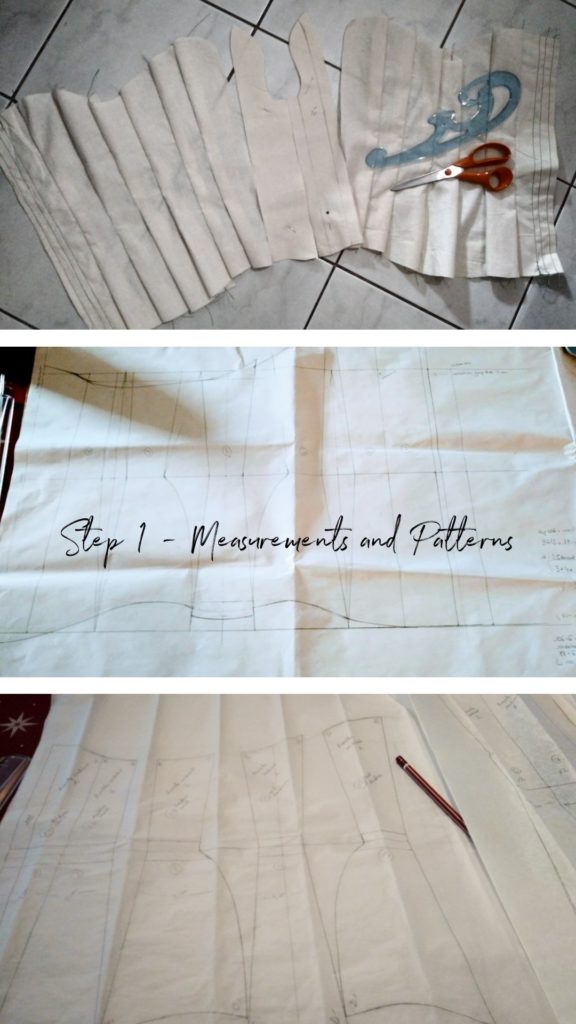
Measurements and patterns
So let’s get started!
First of all: patterns and measurements.
That’s right, you can’t start without a pattern if you’re making your own corset! If you’re familiar with patternmaking, I highly recommend that you take your measurements and make your own pattern so it fits you perfectly. Take your waist, overbust, underbust, and hips measurements. Substract from them all the size of the gap at the back you want to have (around 6cm for me for example). To the waist, you should also substract the value of how many centimeters/inches you want to reduce your waist of (for me, around 10cm). At the very end, when you look at the waistline of your pattern, the sum of the size of all panels should match your reduced measurements.
That’s the math method. You can also make a very quick pattern by using the famous cosplay methode « wrap and tape », but I won’t get into it today 🙂
Finally if you’re not familiar with pattern making, you can buy a pattern or use a free one online! I can recommend a few ones I got online and a few ones I bought, so feel free to ask me.
On Toiles and mock up 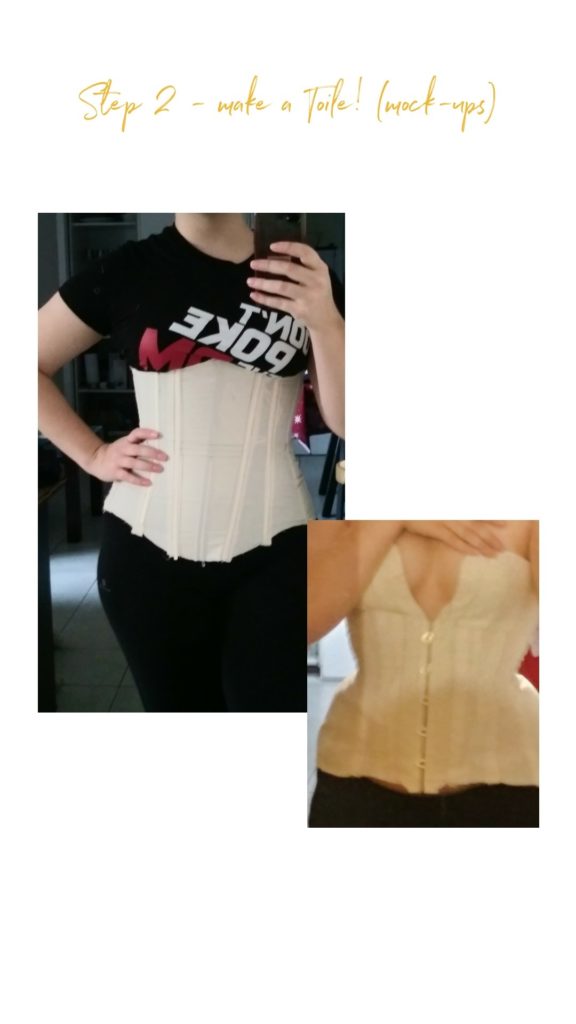
Testing out mock ups and toiles.
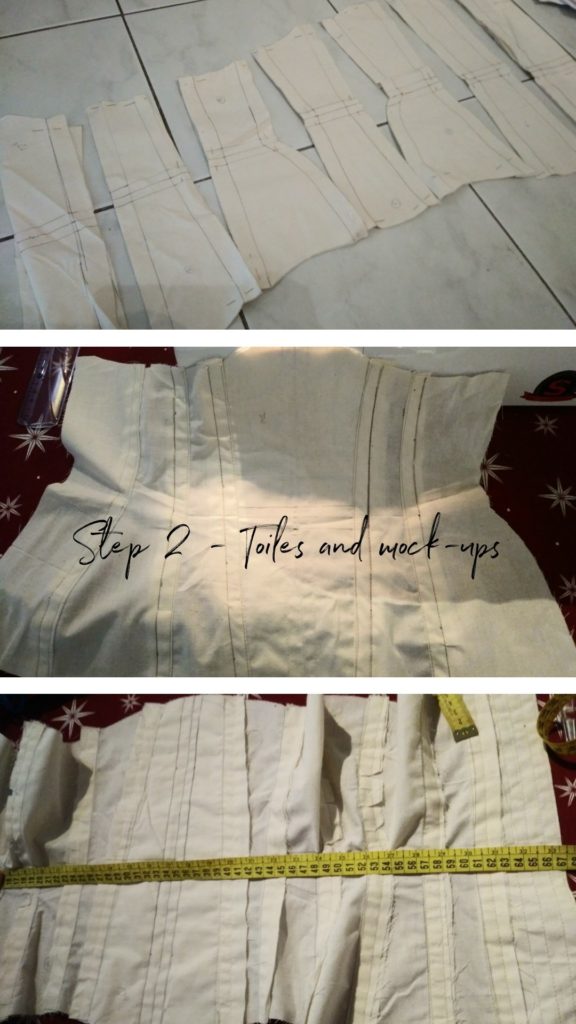
Mock-ups and Toiles.
Once you have your pattern, Always. Test. It. Even if you’re 100% sure of your pattern. Trust me you’re not. Make a mock up out of cheap sturdy cotton, be messy with it, write on it, so you can correct your pattern layer.
Which fabrics? 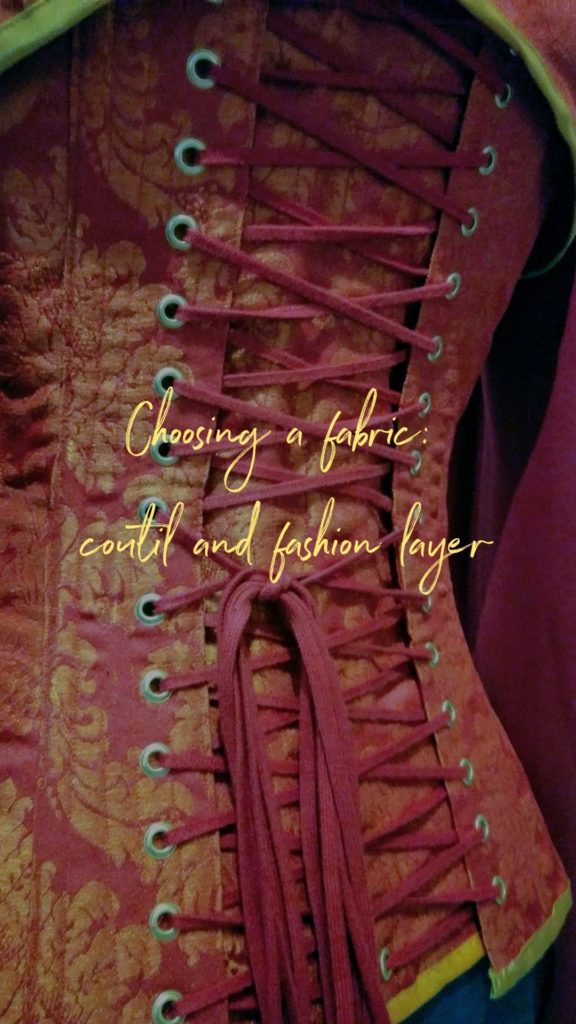
Fashion and coutil fabrics. 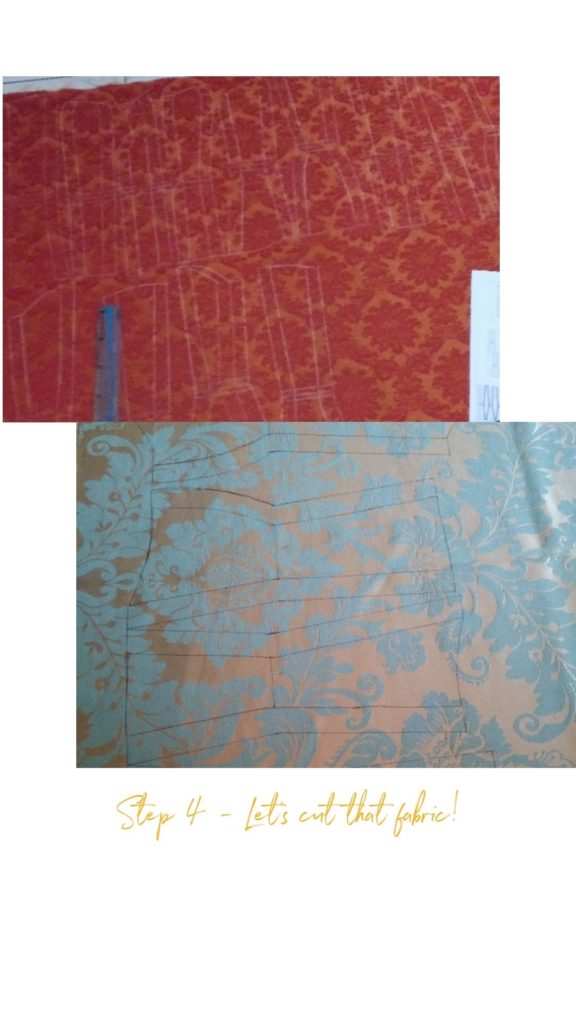
Cutting the fabric.
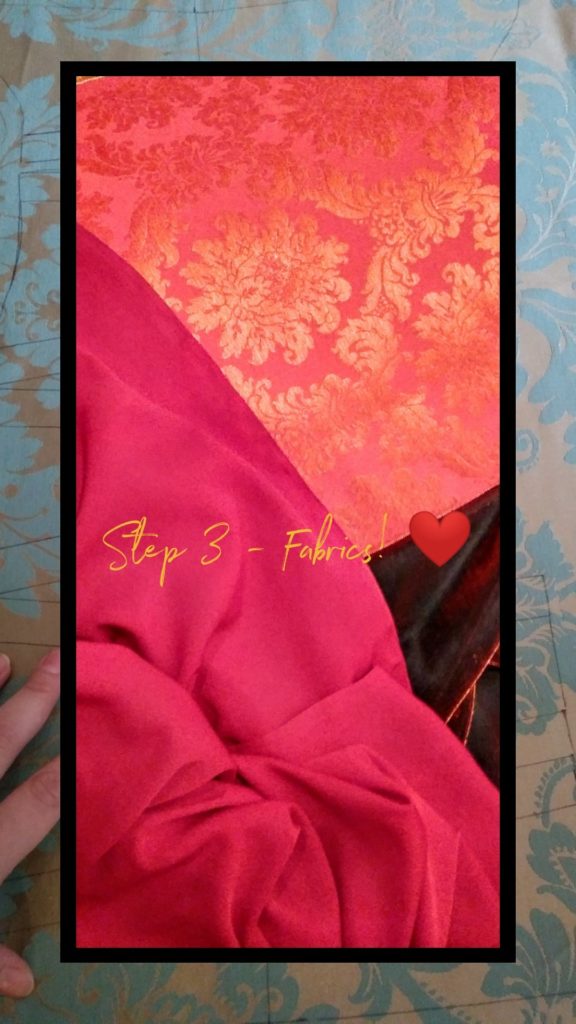
Let’s talk about fabrics.
Now… About the choice of fabrics! Good news you can use anything… At least for the fashion layer. You can make a corset with a single layer of fabric, but I prefer working with two layers and the sandwich method for the bones seams. The most important layer is the lining, or Coutil. It must be sturdy AND NO STRETCH. It’s the base of your corset. I usually use a cotton toile. The fabric on the outside is called the Fashion layer. It could be anything; lace, cotton,
satine, brocard… I often use Jacquard fabrics with royal patterns from… Furnishing fabrics.
How to cut the fabrics
Cut that fabric!!! Just be careful to cut according to the grainline, you don’t want your corset to twist. And if you’re using a fabric with a motif, be extra careful on the positioning of your pattern pieces (symmetry, matching seams…).
Materials: eyelets, biais, bones, busk…
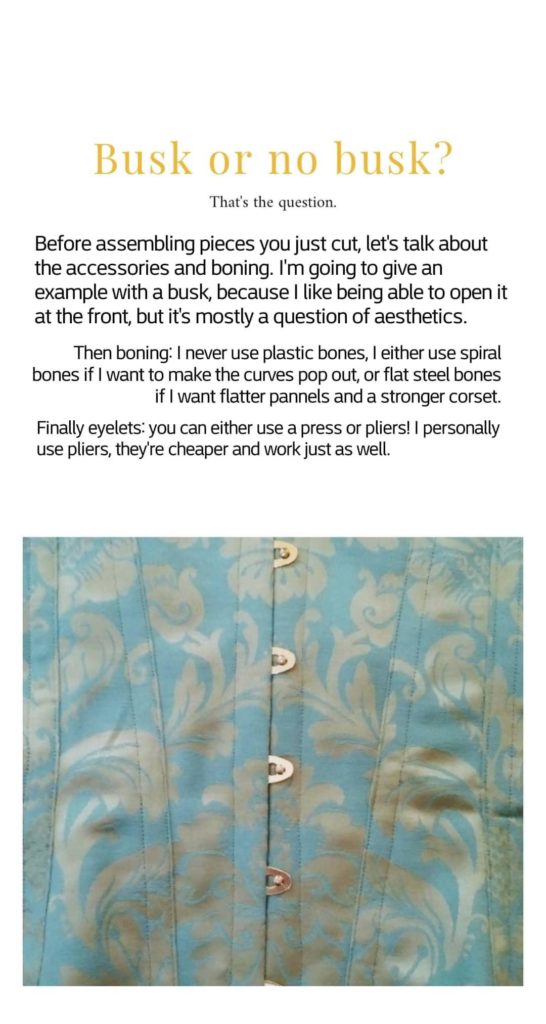
Quick focus on the other materials you need: the busk (if any), bones and eyelets. I also use herringbone tape between the two layers of fabric, sewn over the waistline to reinforce the waist reduction and the strength of the corset.
When using a busk? 
Corset materials.
Assembling the corset – how to put on the busk
If you have a busk, start with it. Sandwich it between the fashion and the Coutil layers. Make holes through the fashion layer on one side for the male part, and make sure not to close the seams on the other side for the female part. Then sew very carefully as close as possible to the busk.
Assembling the corset. 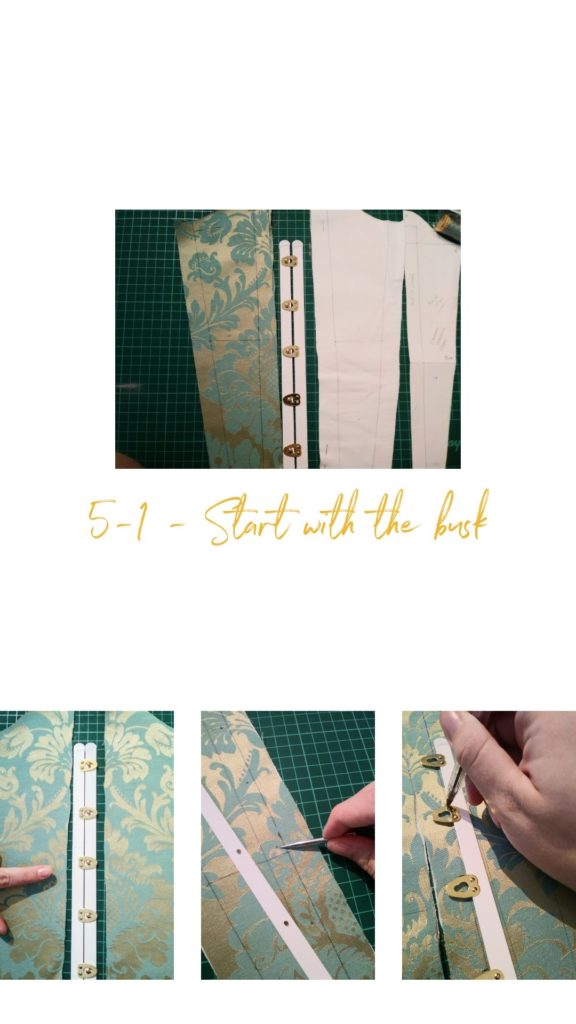
How to insert the busk.
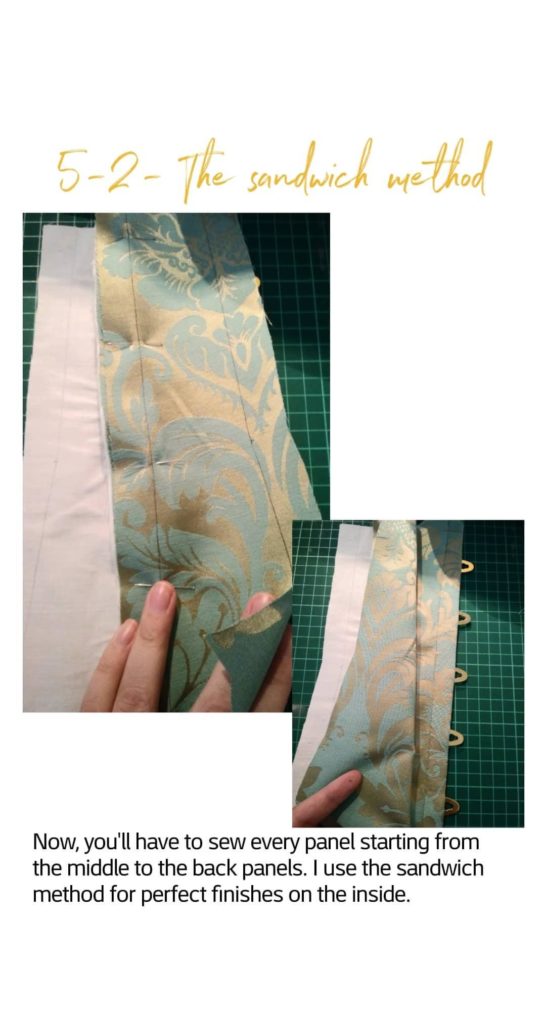
Assembling the corset – the sandwich method
Now to sew every single panel from the center to the back one by one. The sandwich method: sew two fashion layers and two Coutil layers together, then close the new fashion layer over the coutil, and sew the seams for the bones…
One panel at a time… You can see my herringbone tape at the waist poking out. I make sure it’s always following the waistline and sandwich it in all my seams.
Introduction to corsetmaking by a quick step by step tutorial in images. Explanation of the sandwich method to sew the bones cases. 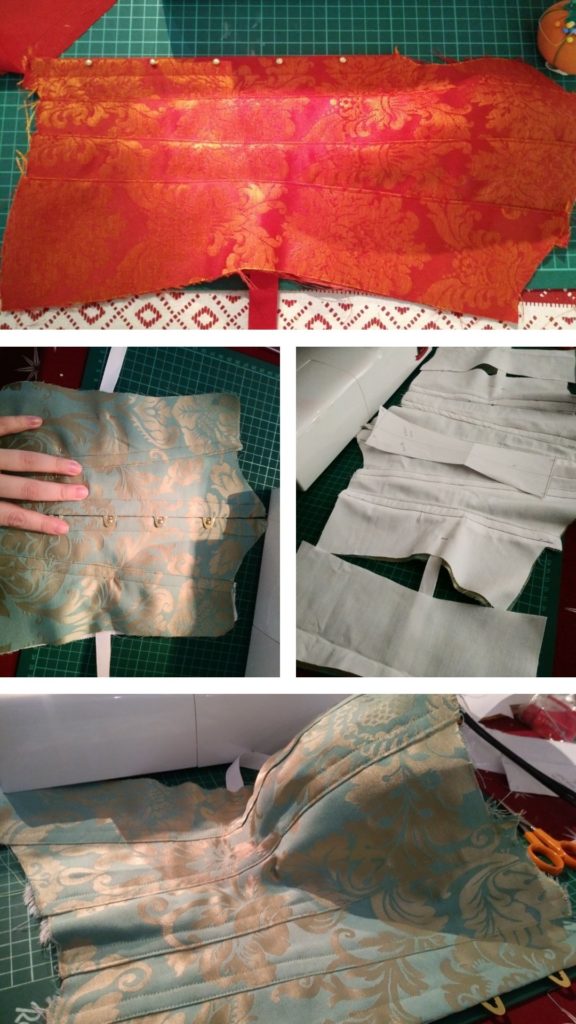
Introduction to corsetmaking by a quick step by step tutorial in images. Step by step pictures of how I assemble a corset.
Putting on the eyelets and the biais
You re almost done! Sew together the last fashion and Coutil layers at the back to close the corset, then add the eyelets! I use prym eyelets pliers for that. Add finishes and close the corset on top and bottom with biais.i’m very bad at this but don’t mess it up, you don’t want the bones to poke through!
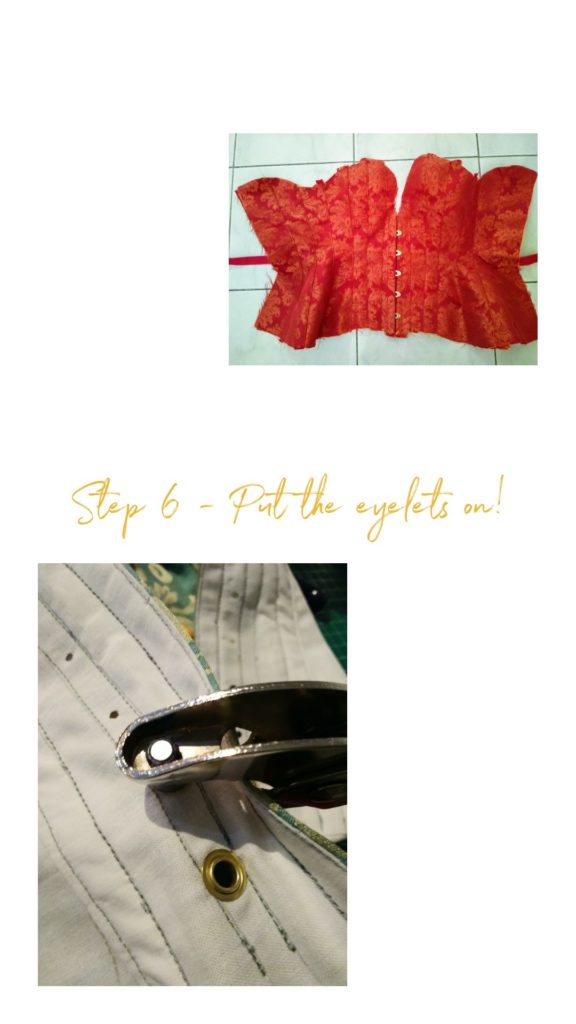
Corset: putting eyelets on. 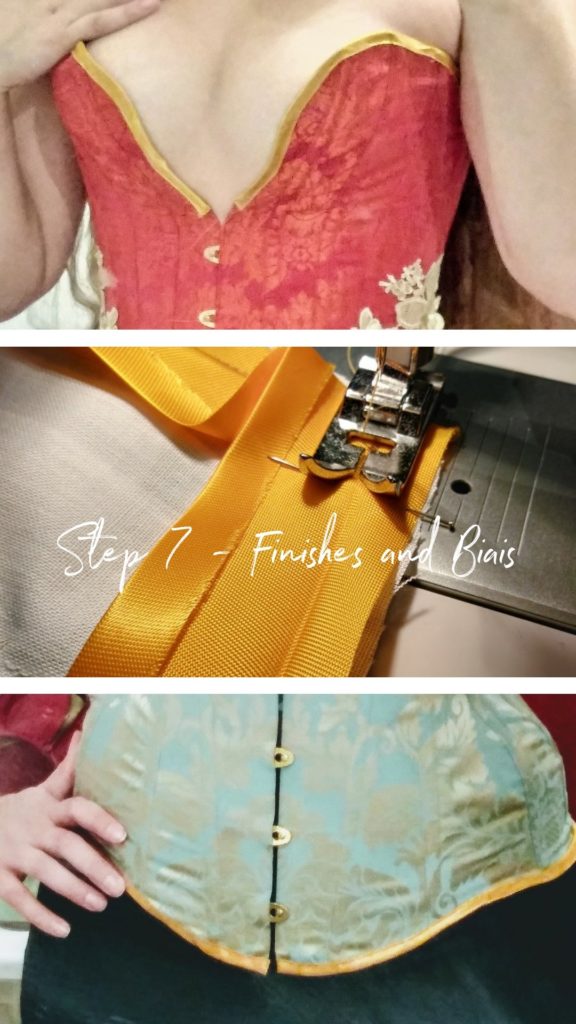
Corset: finishes and biais
Adding decorations
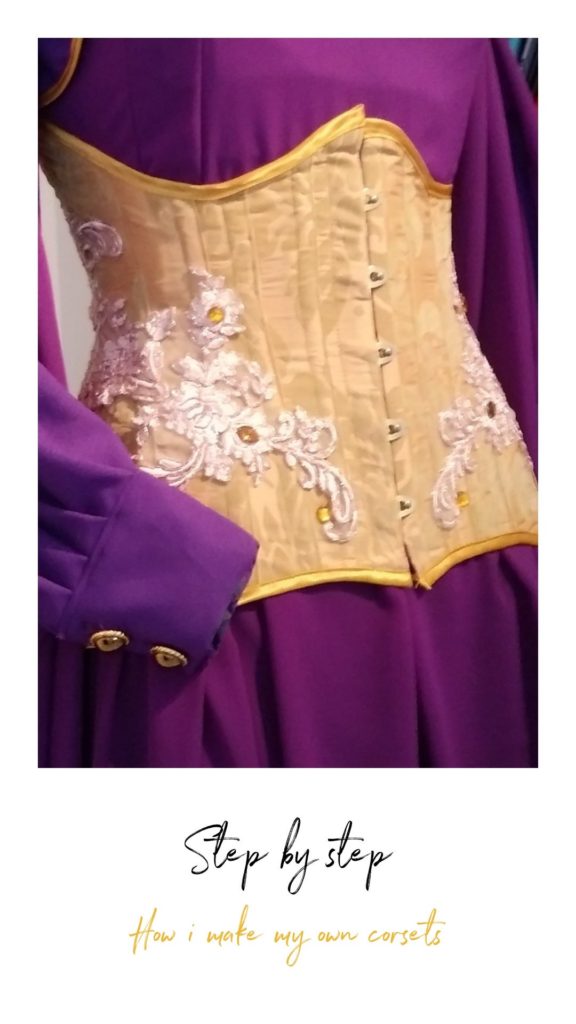
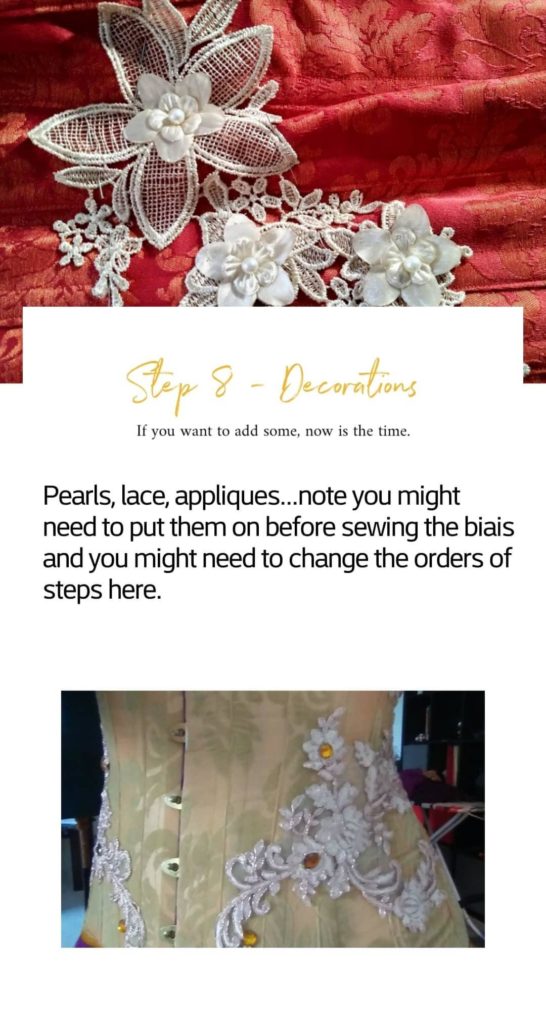
Decorations! If you’re a bit extra, like me, you’ll want to make your corset unique with pearls, laces and appliques!
The modesty panel
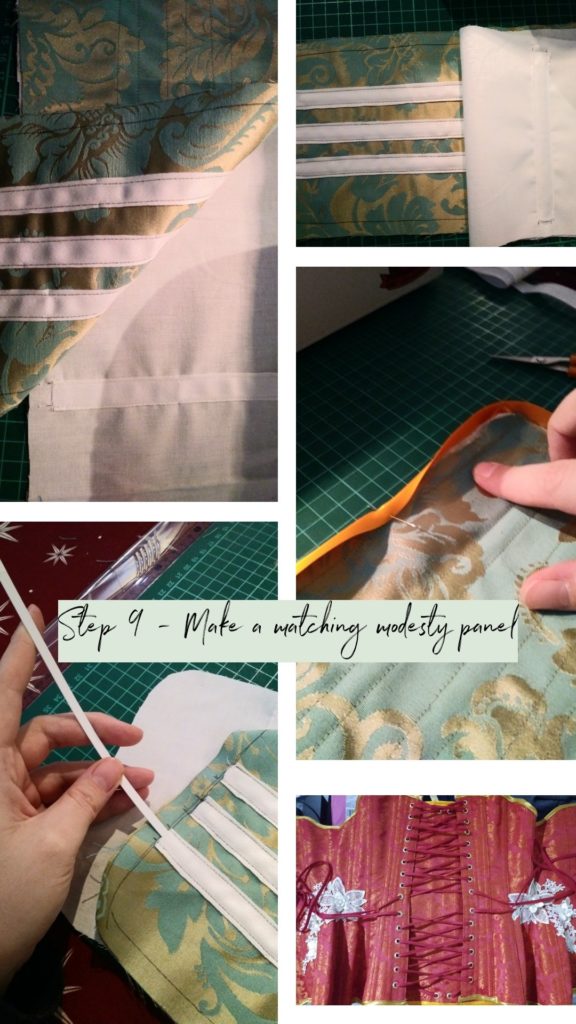
You thought you were done??? You are, unless you want a modesty panel! Take a fashion and a Coutil layer, sew bones cases vertically and horizontally depending on the layer, and add two eyelets at the top and bottom. It goes underneath the corset at the back!
Finish !!!
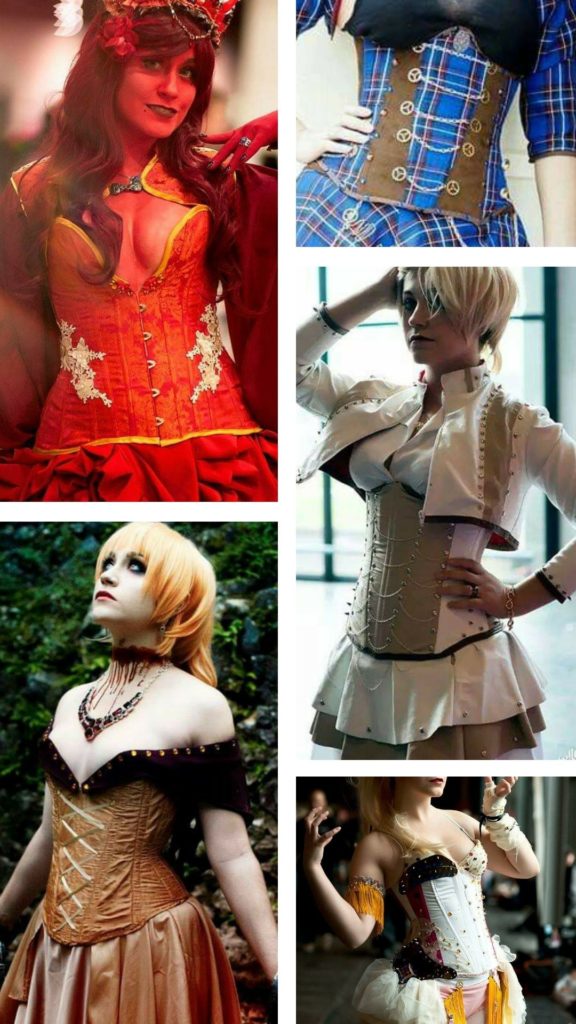
That’s it! You’re done! Here are a few examples of corsets I’ve made using this method. I hope you enjoyed this quick step by step! For any question contact me!
Great content! Super high-quality! Keep it up! 🙂
You’ve got probably the greatest webpages.